Merry Christmas 2016
Look inside your envelope,
the Christmas card should have them all:
Wooden wheel, a snowflake, too.
Copper things, we have a few.
Resistor, light, they’re all brand new,
a paper cut out with a view.
To bring the gift of light,
for every winter night.
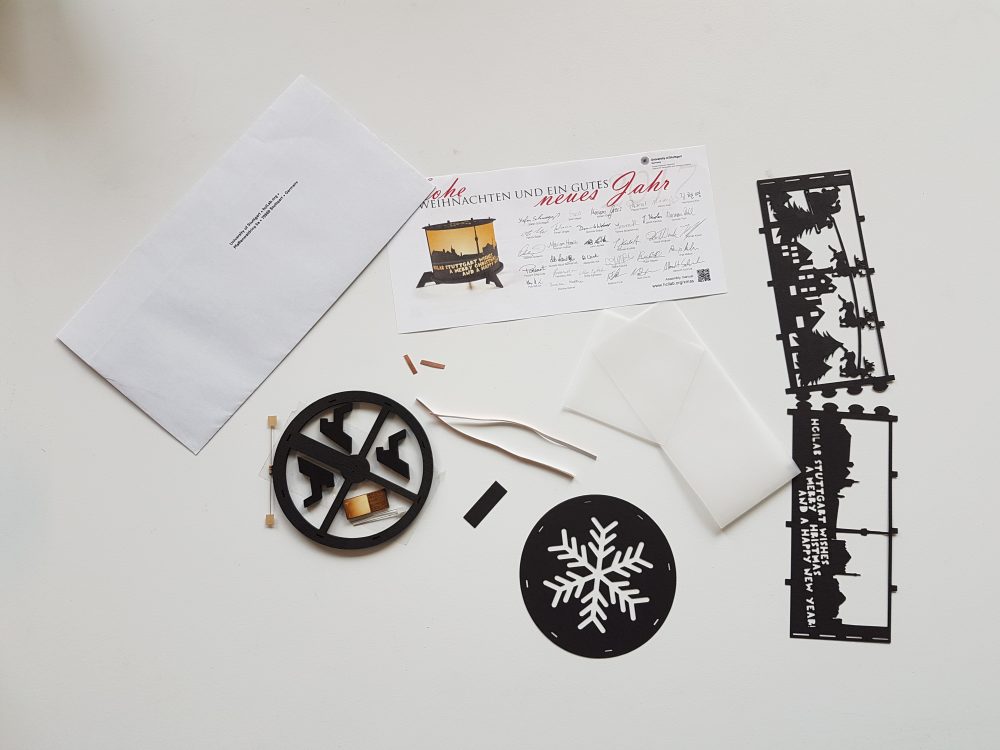
You will need the following pieces for the first assembly part:
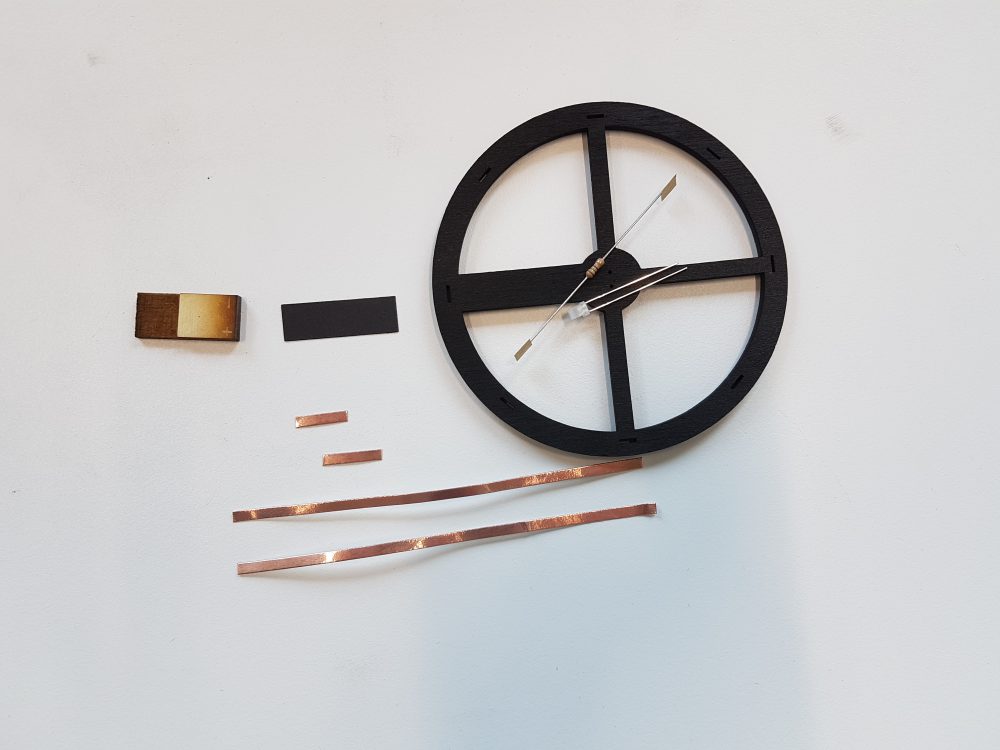
four copper strips (two long, two short), LED, resistor, wooden rim, wooden plug and the black piece of paper.
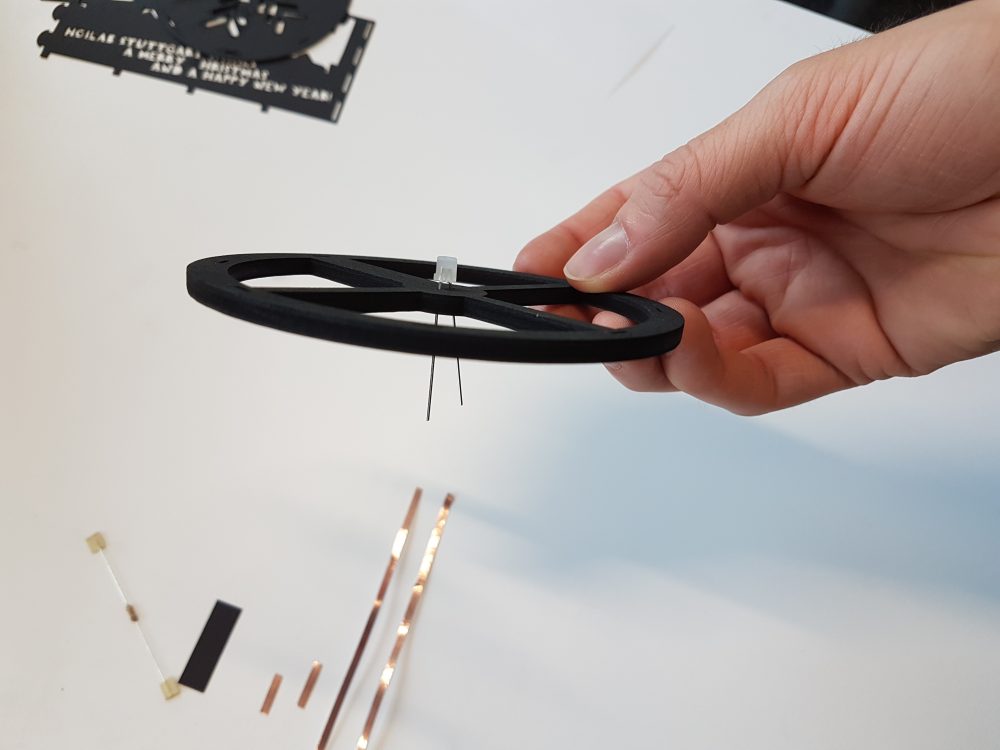
Slide in the LED,
into the holes that be.
Long leg positioned through the oak,
on the left side of the thickest spoke.
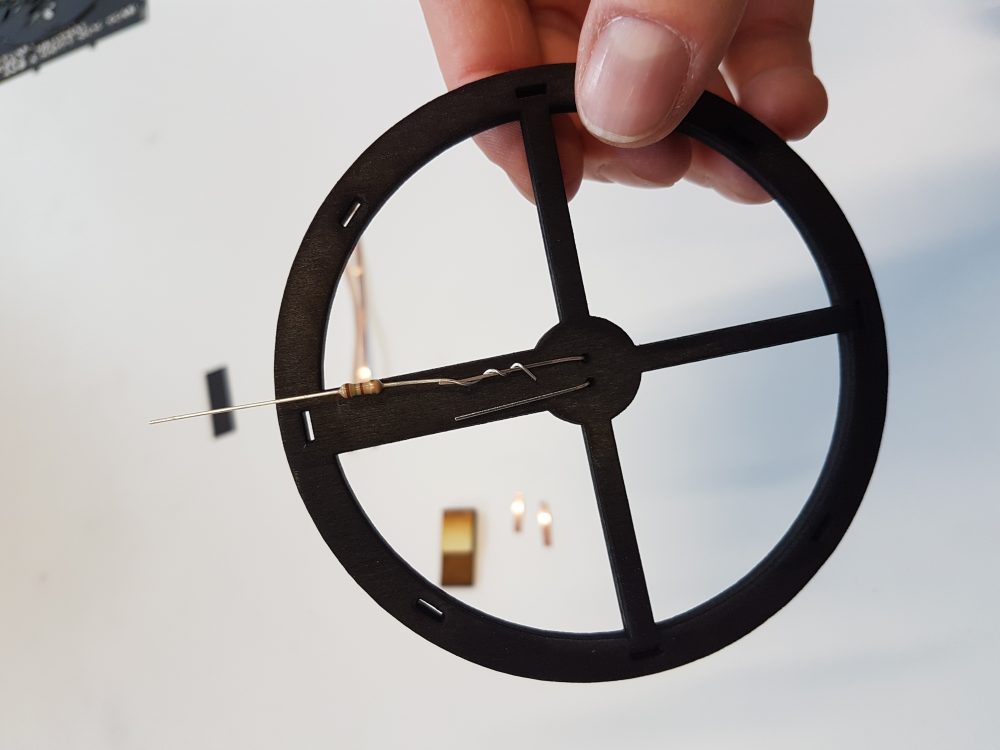
First, insert the LED into the two holes on the wooden rim. The longer leg of the LED goes into the left hole, when the thickest spoke points away from you.
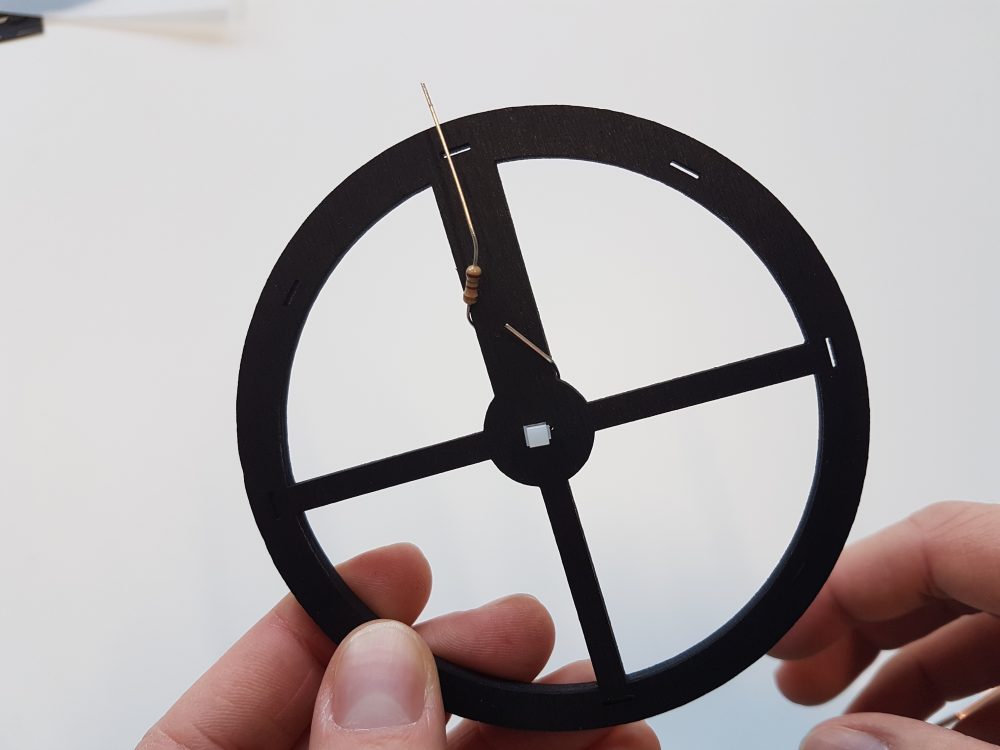
Resistor needs to be installed,
‚cause, otherwise, it will explode.
Remember the longer diode leg,
it connects to the pole that adds (+).
Bend the legs towards the other side of the spoke and attach the resistor to one of the legs. Make sure it is tightly connected. Remember the position of the longer leg for later on.
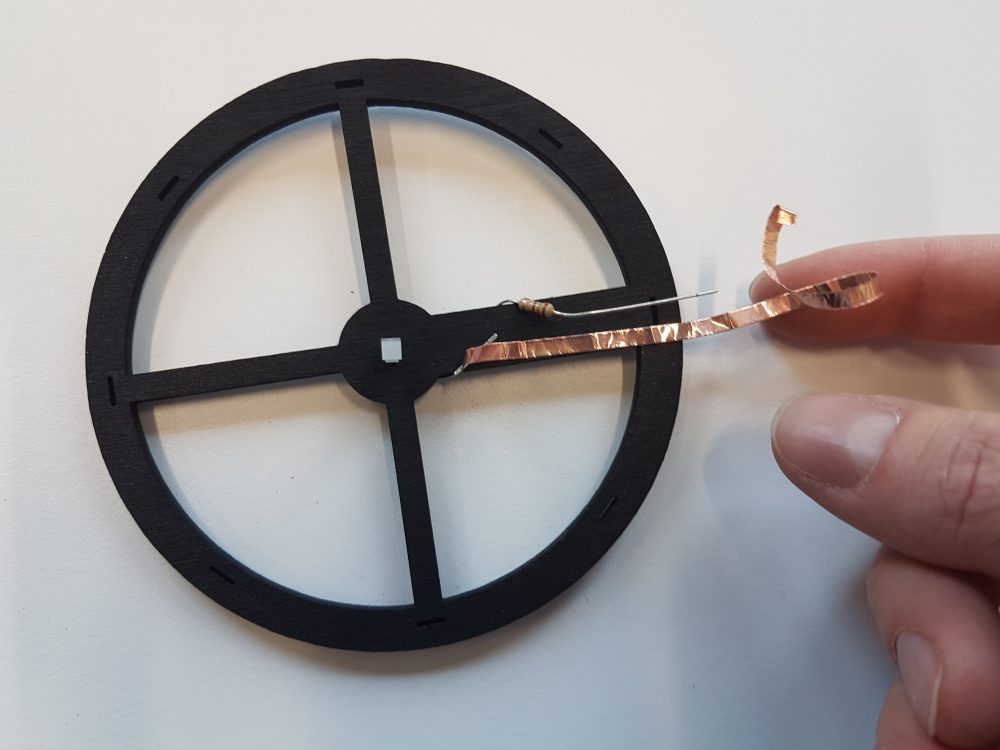
Onto the wooden ring,
attach with copper string.
Wrap around the leggy bit,
the extra strings will make it fit.
Now it is time to attach the copper strings to the rim. Carefully place the two longer copper strips on both sides of the thick spoke using the adhesive side. Twist it around the LED legs and use the short strips to fixate it. CAUTION: the adhesive side does not conduct electricity, so make sure the other side is attached to the LED legs.

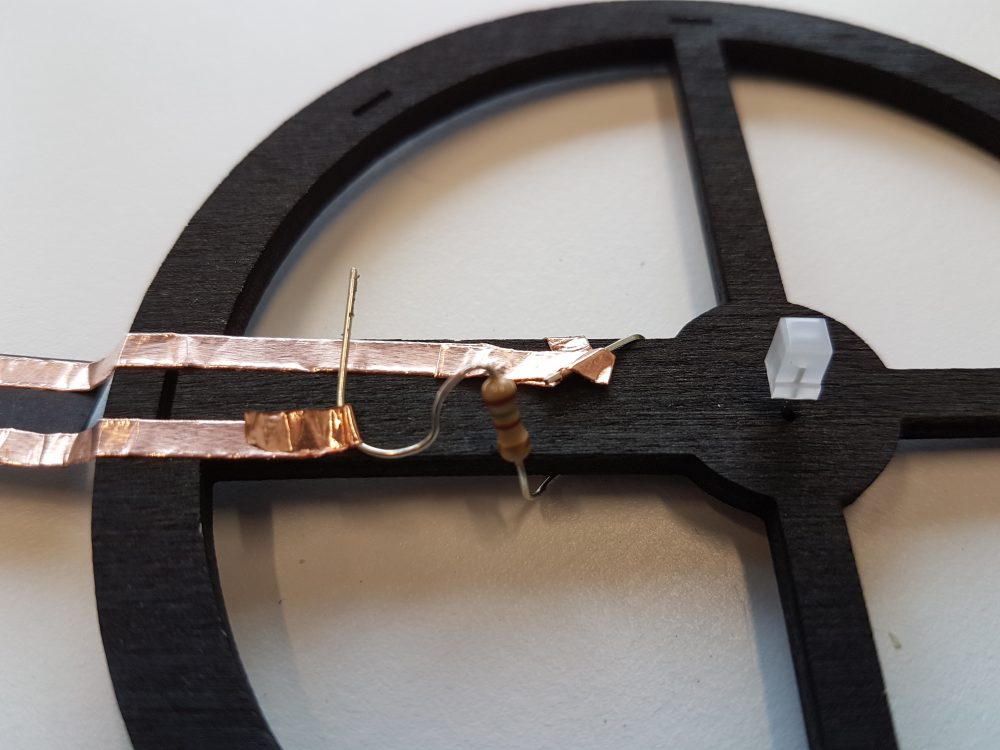
The gluey side just won’t conduct,
hence wires must be nicely tucked.
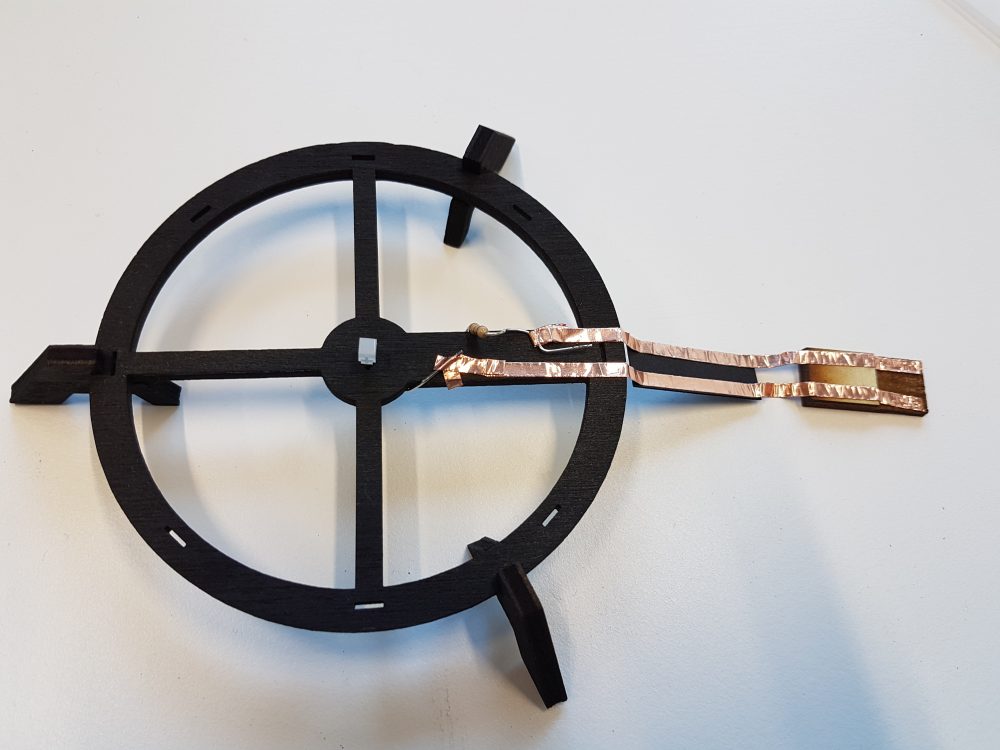
Repeat the same step for the second leg. When finished, the result should look similar to the picture above.

Plus pole connects to long diode leg,
make sure this is correct.
Conductive strips for the plug,
need to be edge-snug.
Connect the plug to the two stripes using the small piece of black paper to keep the strips separated. Make sure to connect the longer LED leg to the plus pole (marked on the plug). If you followed all steps up until now, you can simply connect it as shown above. The strips attached to the plug should be spaced as far apart as possible (on both side), but must not overlap over the ledge.
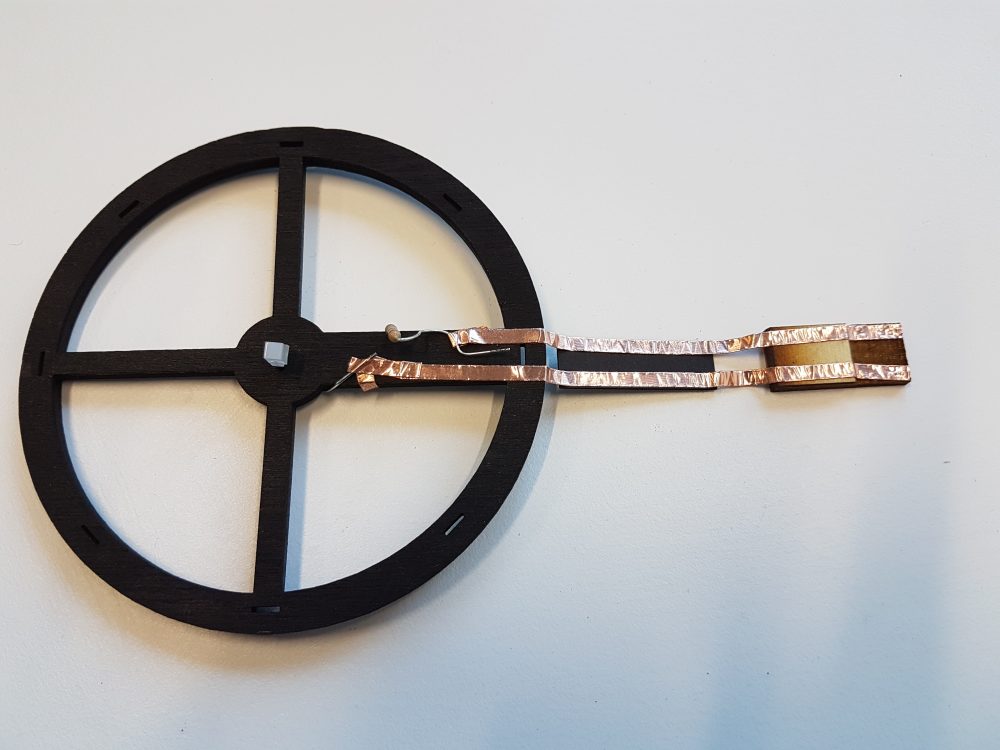
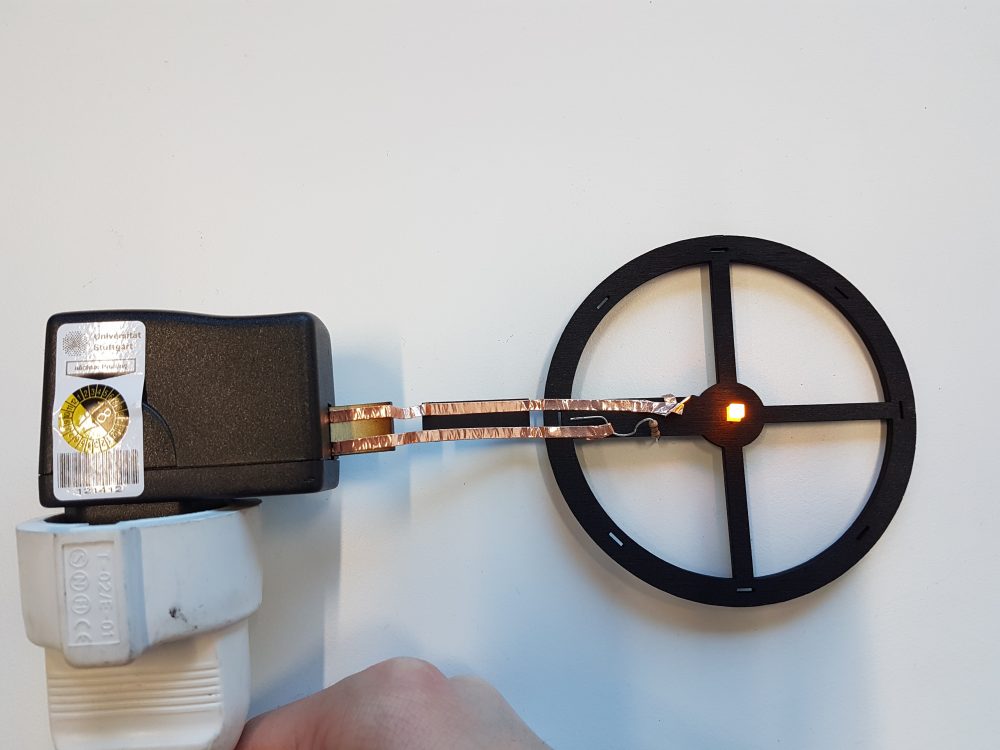
Attach the plug you just might,
and you have a working light.
You may want to test your Christmas lantern for now. Plug it into a USB-charger and check if the LED lights up. If not, check the wiring, especially the connection between LED legs and copper strips. Consider checking for correct polarity. Do not despair if your light does not work. You can still proceed and build the final lantern.
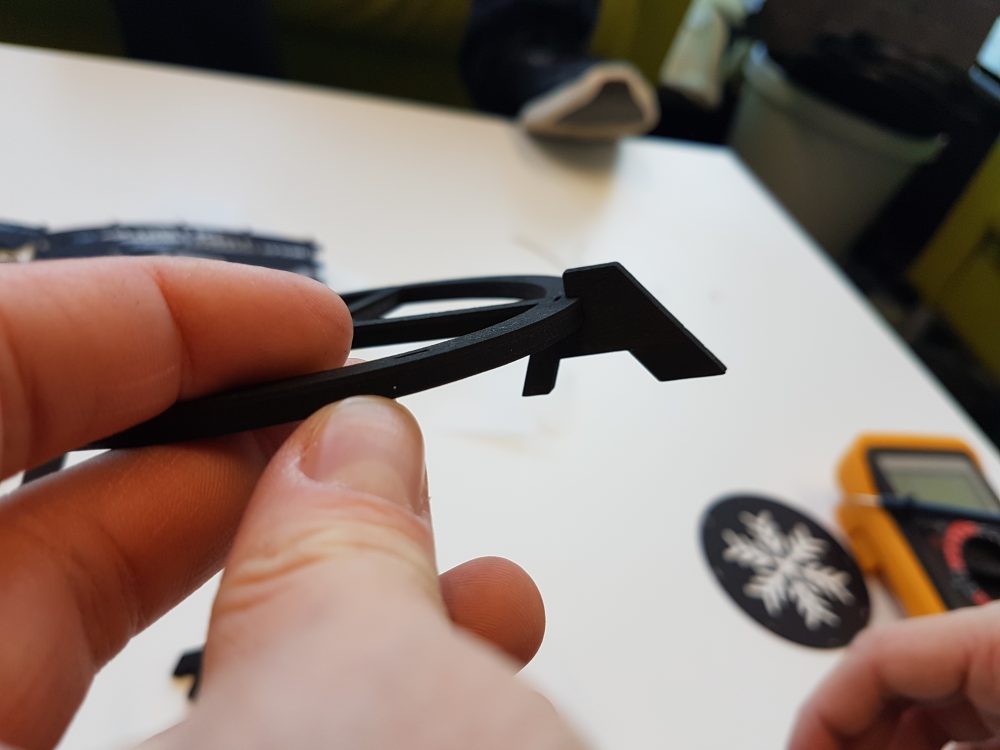
The lantern stands on wooden feet,
and then you join the paper sheets.
Be aware of text alignment,
else you prolong the assignment.
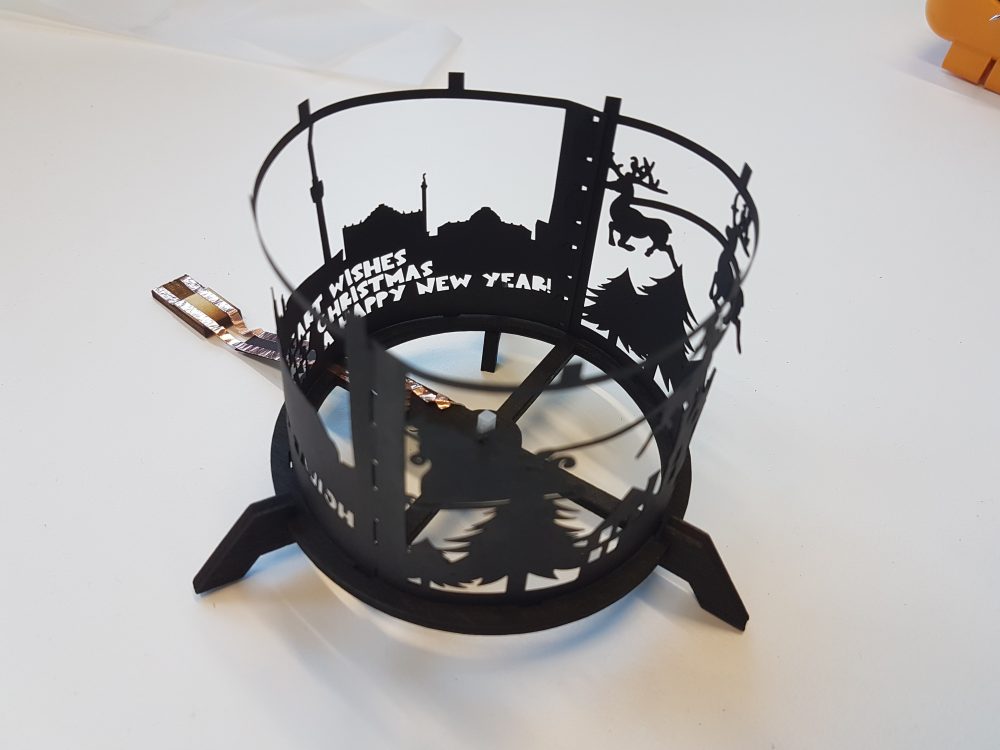
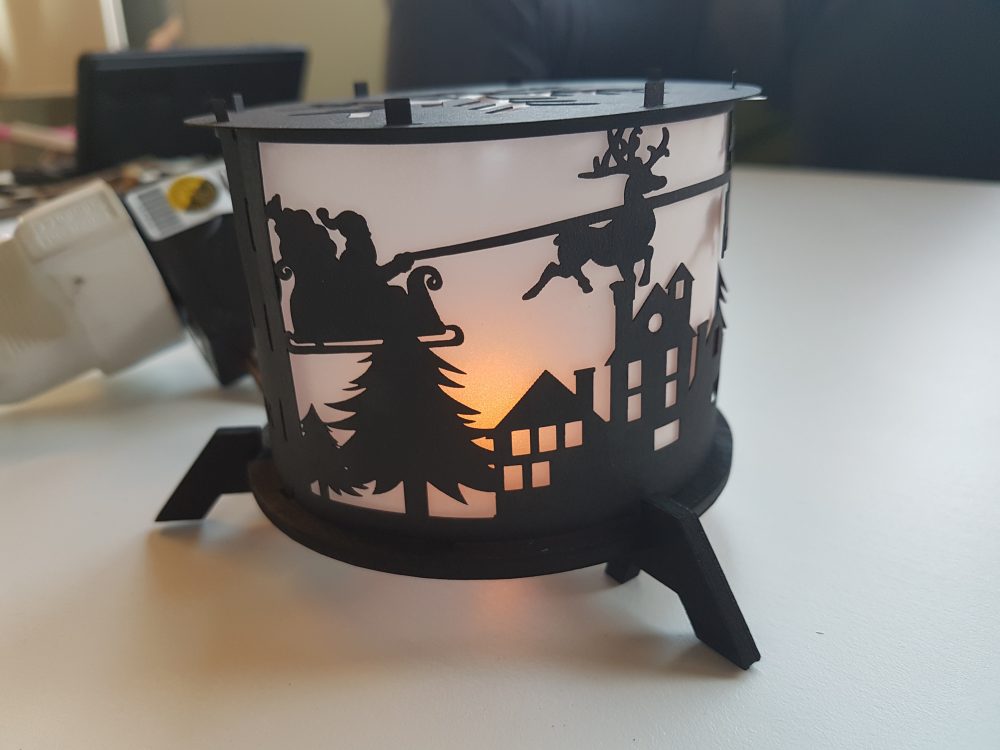
Now it is time to make it look like a lantern. Attach the feet to the wooden rim and connect the two paper ornaments. Check the text orientation before connecting both pieces. Be sure to insert the paper hooks as shown in the picture for a stable and round lantern.


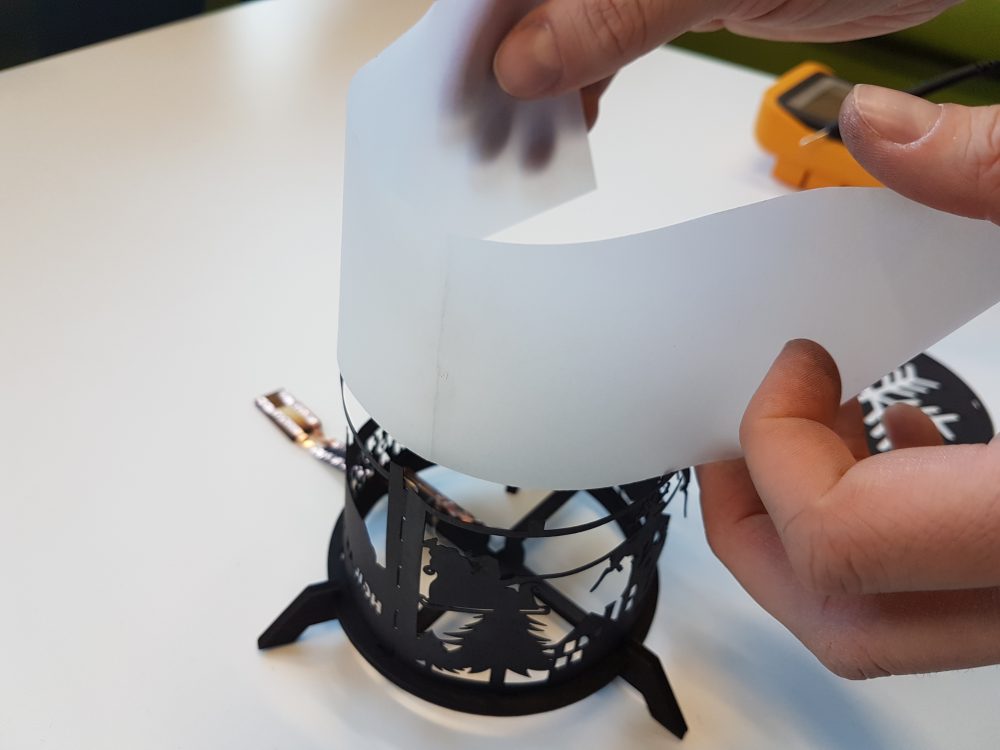
And now it’s time to mount the screen,
it wraps around the wooden rim.
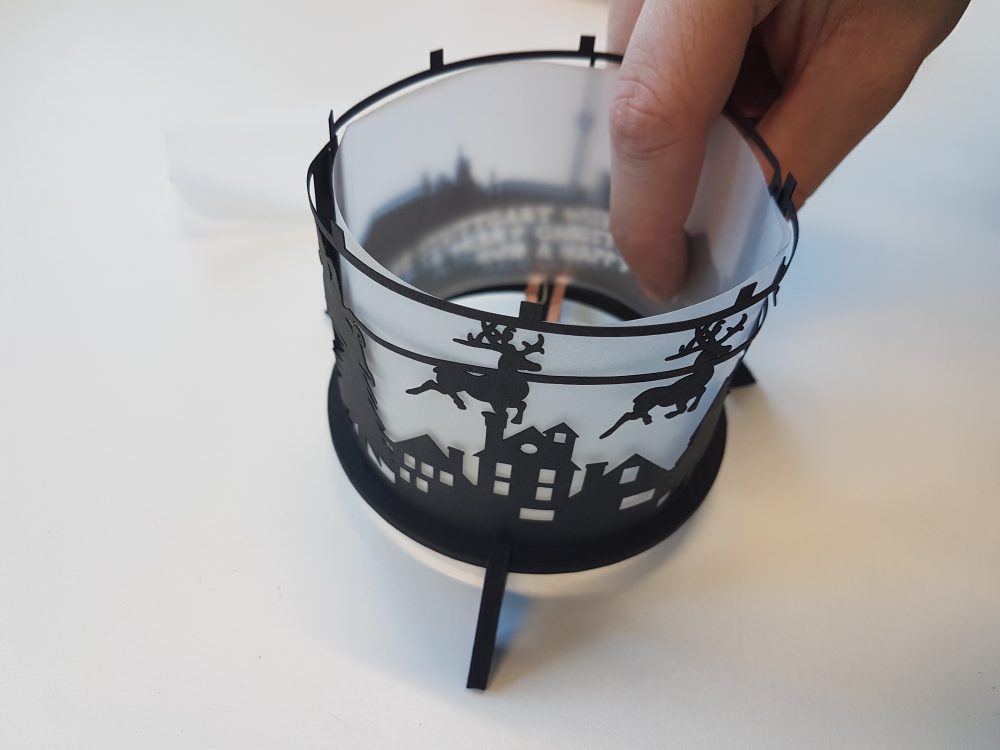
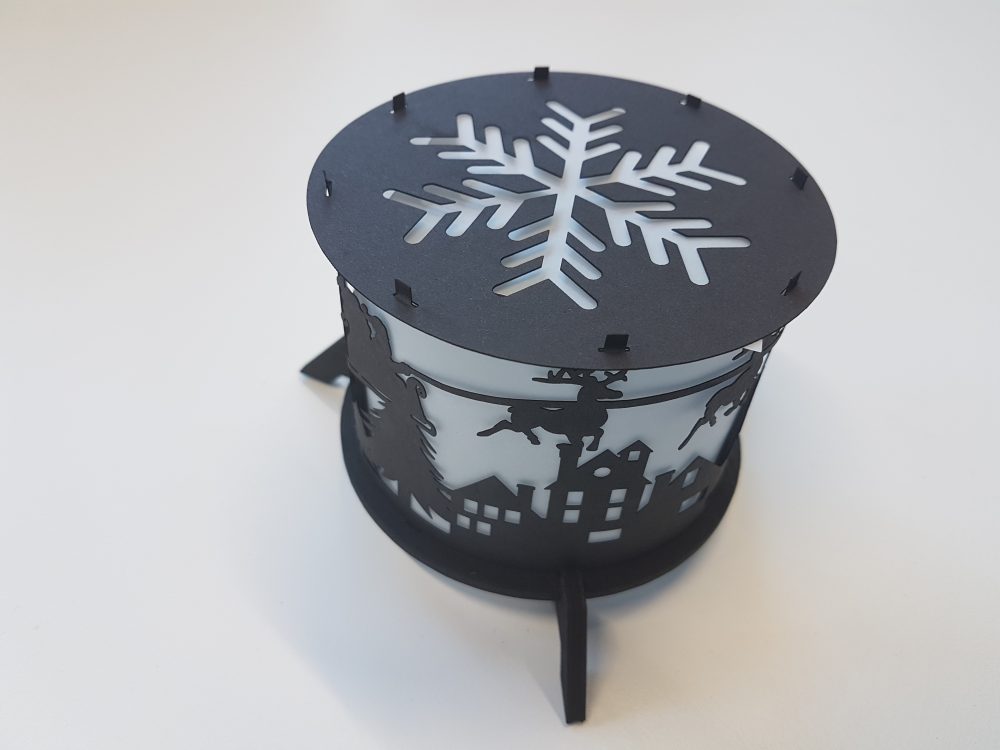
Slide the transparent paper into the lantern. For best visual results, position the fold in front of the overlap.
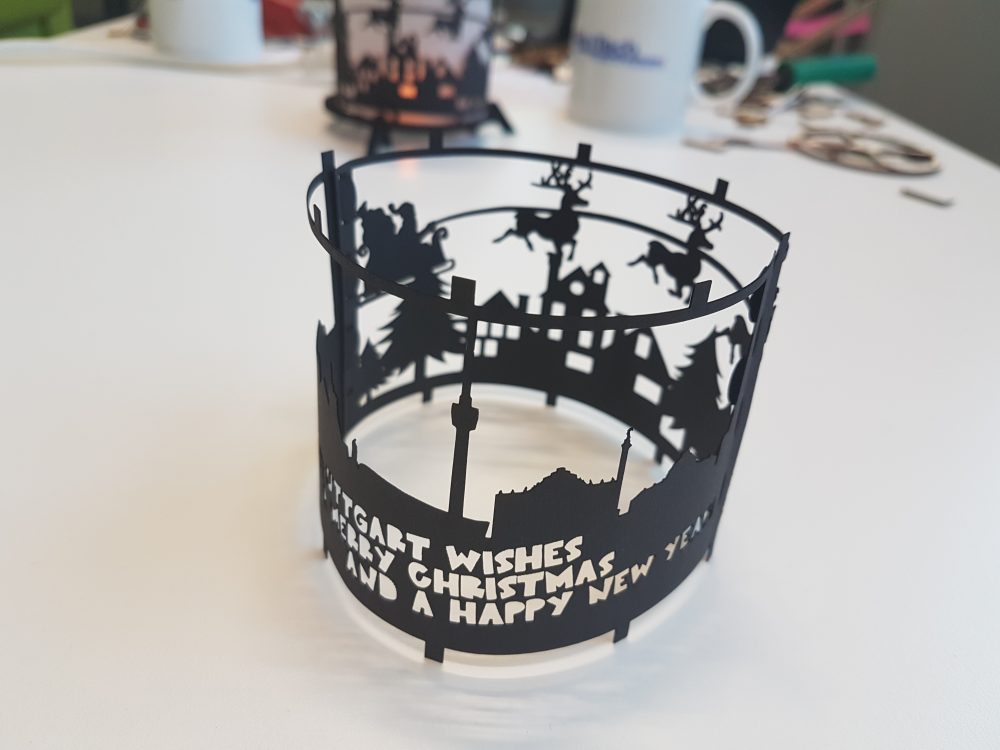
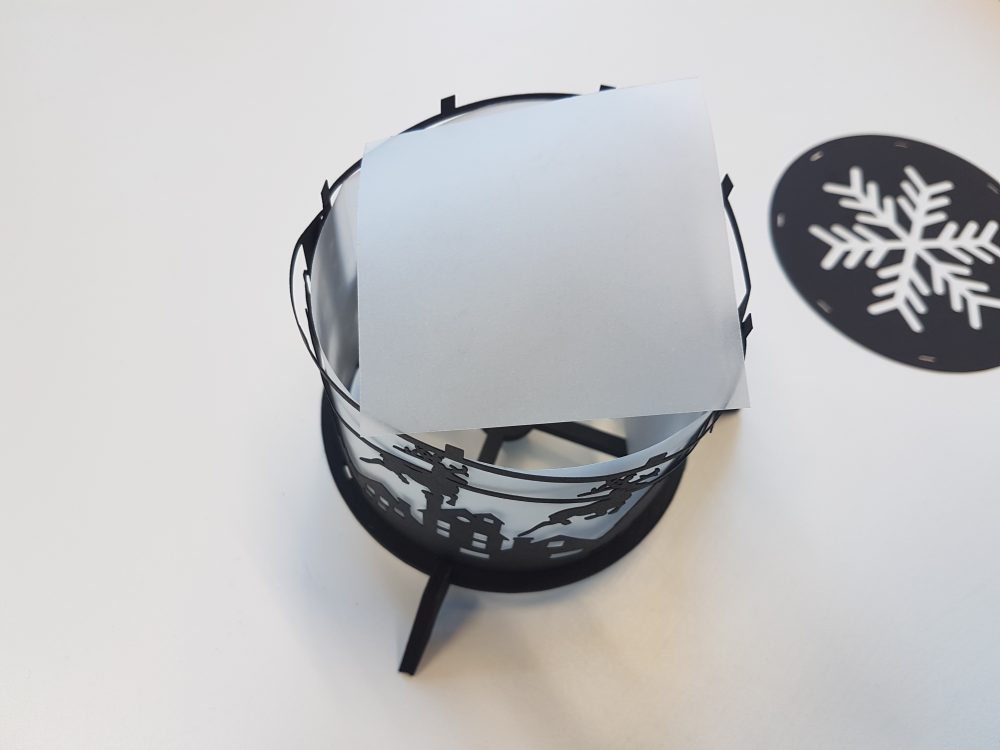
The snowflake goes on top,
ensure that room lights are now off.
Position the quadratic transparent paper on top of the lantern and add the snowflake ornament.
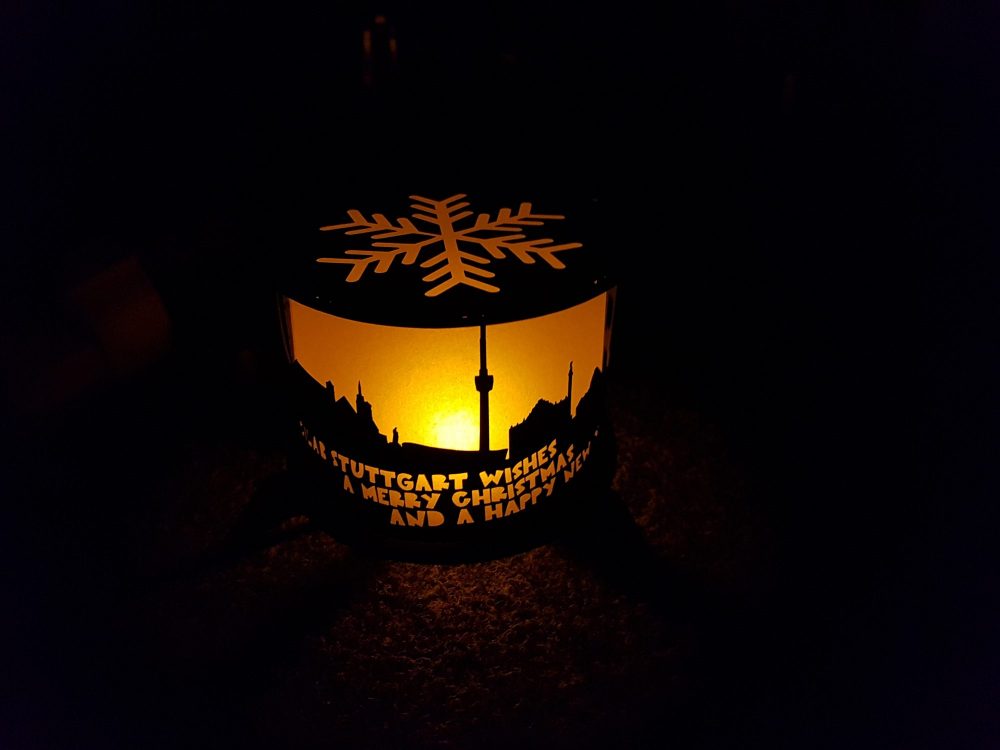
Now it’s time to plug it in,
and pour yourself a Christmas drink.
Highlights 2016!
Congratulations to our PhDs
This year we had 6 people finishing their PhD – the highest number for a single year till now – congratulations!
- Nora Broy: Stereoscopic 3D user interfaces : exploring the potentials and risks of 3D displays in cars
- Bastian Pfleging: Automotive User Interfaces for the Support of Non-Driving-Related Activities
- Stefan Schneegaß: Enriching mobile interaction with garment-based wearable computing devices
- Markus Funk: Augmented Reality at the Workplace: A Context-Aware Assistive System using In-Situ Projection
- Tilman Dingler: Cognition-Aware Systems to Support Information Intake and Learning
- Tanja Döring: A Materials Perspective on Human-Computer Interaction
Exciting new Projects
In 2016 we started a number of new projects:
- ERC Consolidator Grant: AMPLIY (Amplifying Human Perception Through Interactive Digital Technologies)
- Tangible learning: Project Be-greifen (BMBF funded)
- Augmented reality for learning applications: Project KoBeLu (BMBF funded)
Event Highlight
- 6th International Conference on the Internet of Things (IoT 2016), November 7–9, 2016 in Stuttgart, Germany


